
How to Upholster Tissue Boxes with Leftover Fabric
Home Neighborhood Groups Community Service Events About Us Contact Us Tips & Tricks Join the…
Before diving into hands-on techniques, it’s essential to grasp what sets vinyl and laminate fabrics apart. These materials, celebrated for their durability and versatility, have become staples in both home décor and crafting circles. However, their unique properties demand a thoughtful approach, particularly from beginners eager to achieve professional results.
Vinyl fabric is a synthetic material crafted from polyvinyl chloride (PVC). It features a smooth, often glossy surface that’s naturally water-resistant and easy to wipe clean. This makes vinyl a popular choice for items like tablecloths, raincoats, upholstery, and fashion accessories. Its slightly stiff texture offers structure, allowing projects to hold their shape beautifully.
Laminate fabric, on the other hand, typically starts as a cotton or polyester base that’s coated with a thin layer of plastic. This coating makes the surface resistant to moisture and stains while preserving the softness and flexibility of the underlying fabric. Laminates are frequently used in children’s products, reusable food pouches, and stylish bags where both form and function matter.
By understanding the attributes of vinyl and laminate fabrics, beginners can confidently select the right material for their projects, setting the stage for satisfying results and smooth crafting experiences.
Sewing with specialty fabrics like vinyl and laminate introduces unique challenges, but having the right tools at your disposal can make the process smooth and enjoyable. Whether you’re a newcomer or looking to upgrade your sewing kit, investing in these essential tools will help you achieve professional results with even the most stubborn materials.
When working with vinyl and laminate, standard sewing needles may not suffice. Opt for heavy-duty needles—such as denim or leather needles—which pierce through thick, coated fabrics without breaking or creating snags. Pair these with strong, high-quality polyester thread to withstand the stress these fabrics can place on seams, ensuring your finished projects are both durable and long-lasting.
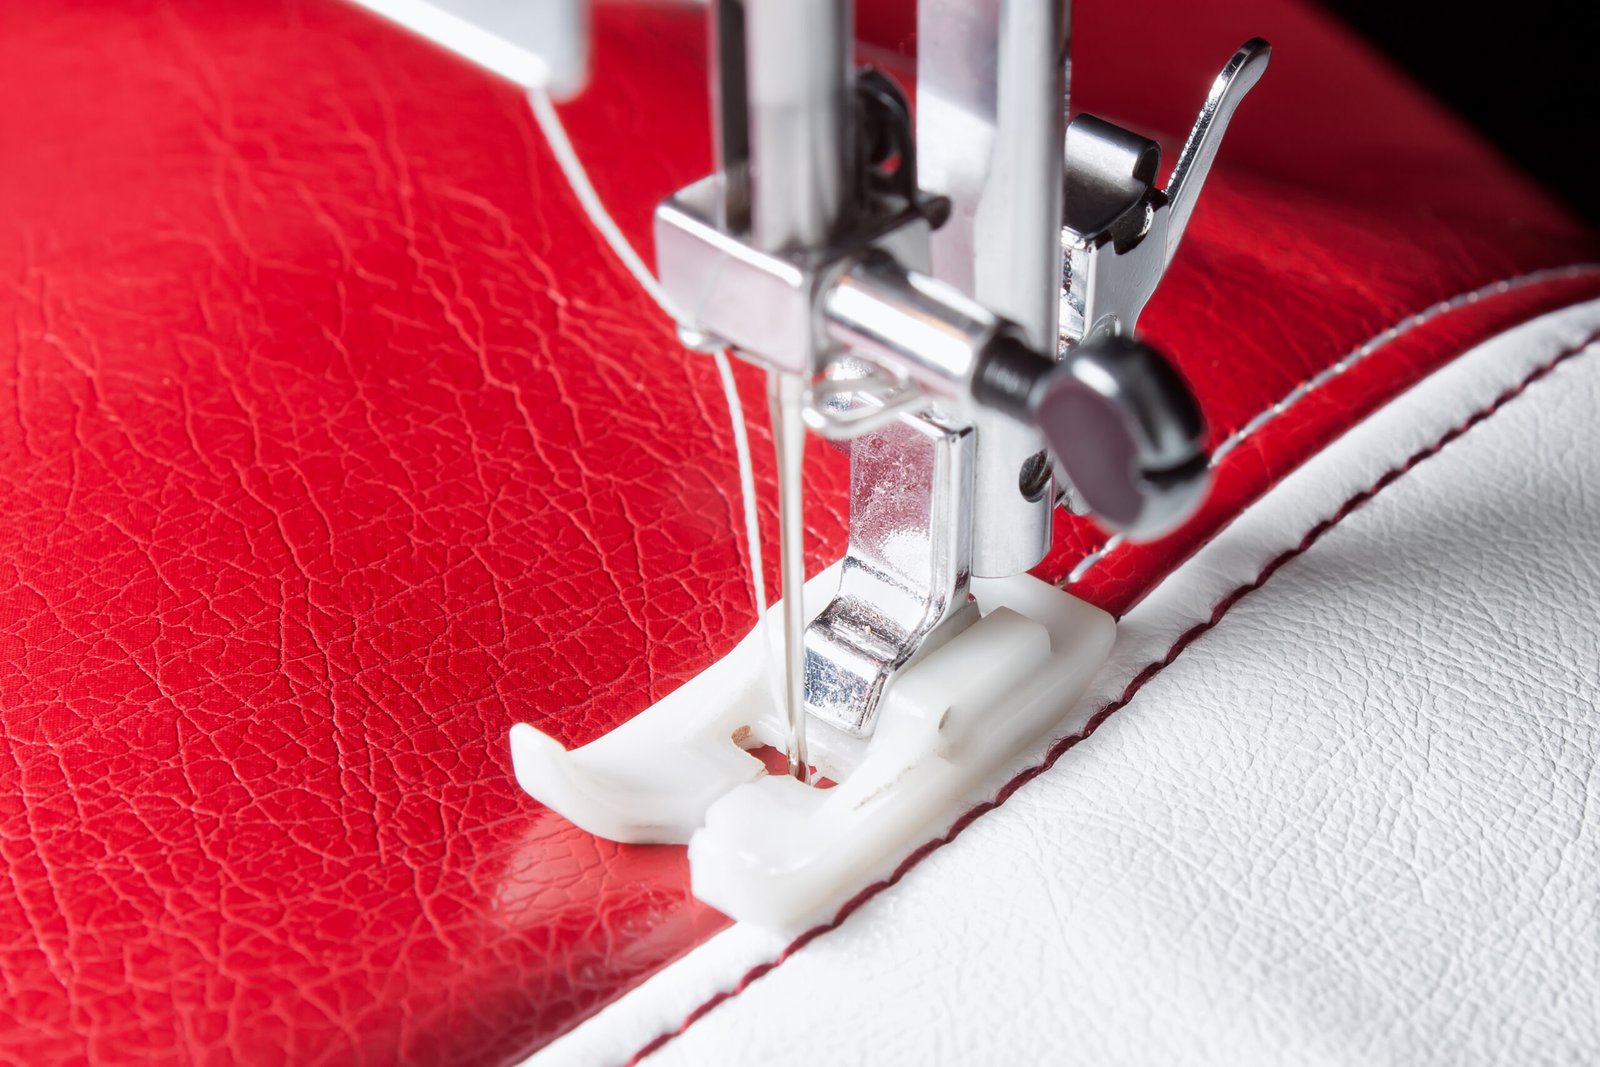
Traditional presser feet can stick to the glossy surface of vinyl and laminate, causing uneven stitches and frustration. A Teflon or non-stick presser foot glides smoothly over slick materials, preventing bunching and skipped stitches. If a Teflon foot isn’t available, a simple trick is to place a strip of tissue paper between the foot and fabric to reduce friction—removing it easily after stitching.
Equipping yourself with these specialized tools not only simplifies the sewing process but also enhances the quality and appearance of your vinyl and laminate projects. With the proper gear in hand, you’ll be ready to tackle the creative possibilities these specialty fabrics offer.
Before diving into the process of sewing with vinyl and laminate, it’s crucial to prepare these unique materials properly. Both vinyl and laminate possess distinct characteristics—such as a smooth, non-porous surface and a tendency to stick or crease—that set them apart from traditional fabrics. Taking time to get your materials ready not only simplifies the sewing process but also ensures polished, professional results.
Begin by thoroughly cleaning the cutting surface and your hands to avoid transferring dust or oils onto the vinyl or laminate, as these materials easily attract debris. Use a soft, lint-free cloth to gently wipe the surface. If necessary, a mild soap and water solution works well, but be sure to dry the material completely before proceeding. Avoid using harsh chemicals that could damage the finish.
Vinyl and laminate are often sold in rolls, which can cause stubborn creases and curls. To flatten the material, unroll it and lay it flat in a warm room, allowing it to relax naturally. For persistent curls, placing a few heavy books along the edges can help. Never iron vinyl or laminate directly, as excessive heat can melt or warp the surface.
By investing a little extra effort into preparing vinyl and laminate before sewing, you lay the foundation for a smooth, enjoyable crafting experience and a beautiful finished project. Once your materials are prepped, you’ll be ready to tackle more advanced sewing techniques with confidence.
Working with vinyl and laminate fabrics can seem daunting to newcomers, but with a few beginner-friendly sewing techniques, even those just starting out can achieve professional-looking results. These materials are beloved for their durability and water-resistant properties, making them ideal for crafting bags, tablecloths, and protective covers. However, their unique textures and lack of breathability require a slightly different approach compared to traditional fabrics.
First and foremost, select the appropriate tools. Use a non-stick or Teflon sewing foot to prevent the material from sticking and ensure smooth feeding through the machine. Opt for sharp, heavy-duty needles—such as size 90/14 or 100/16—to pierce the dense surface of vinyl and laminate without causing skipped stitches or fabric damage.
By mastering these beginner techniques, you’ll find working with vinyl and laminate both manageable and rewarding. With the right preparation and a patient approach, your projects will boast both resilience and style, setting the stage for more advanced sewing adventures.
Embarking on projects with vinyl and laminate can be incredibly rewarding, but even the most enthusiastic beginners often stumble over a handful of common mistakes. Recognizing these pitfalls early on is key to achieving a polished, professional-looking result. By understanding where things typically go wrong and knowing how to sidestep these issues, you’ll set yourself up for success from the outset.
One of the most frequent errors is neglecting proper surface preparation. Both vinyl and laminate require a thoroughly clean, smooth, and dry surface to adhere correctly. Skipping this crucial step can result in bubbles, peeling, or uneven finishes. To avoid this, always clean the surface with a mild detergent, remove any dust or debris, and let it dry completely before application.
Rushing through measurements often leads to wasted materials and ill-fitting pieces. Always measure twice and cut once. Use a sharp utility knife and a straight edge for precise cuts, ensuring your vinyl or laminate fits perfectly around edges and corners.
Each brand or type of vinyl and laminate may have unique installation requirements. Overlooking these guidelines can result in poor adhesion or damage. Take the time to read all instructions thoroughly, including recommended adhesives and tools.
By keeping these tips in mind and approaching each step with patience and precision, you’ll minimize mistakes and enjoy smoother, more satisfying results when working with vinyl and laminate.
Home Neighborhood Groups Community Service Events About Us Contact Us Tips & Tricks Join the…
Home Neighborhood Groups Community Service Events About Us Contact Us Tips & Tricks Join the…
Home Neighborhood Groups Community Service Events About Us Contact Us Tips & Tricks Join the…
Home Neighborhood Groups Community Service Events About Us Contact Us Tips & Tricks Join the…