
How to Upholster Tissue Boxes with Leftover Fabric
Home Neighborhood Groups Community Service Events About Us Contact Us Tips & Tricks Join the…
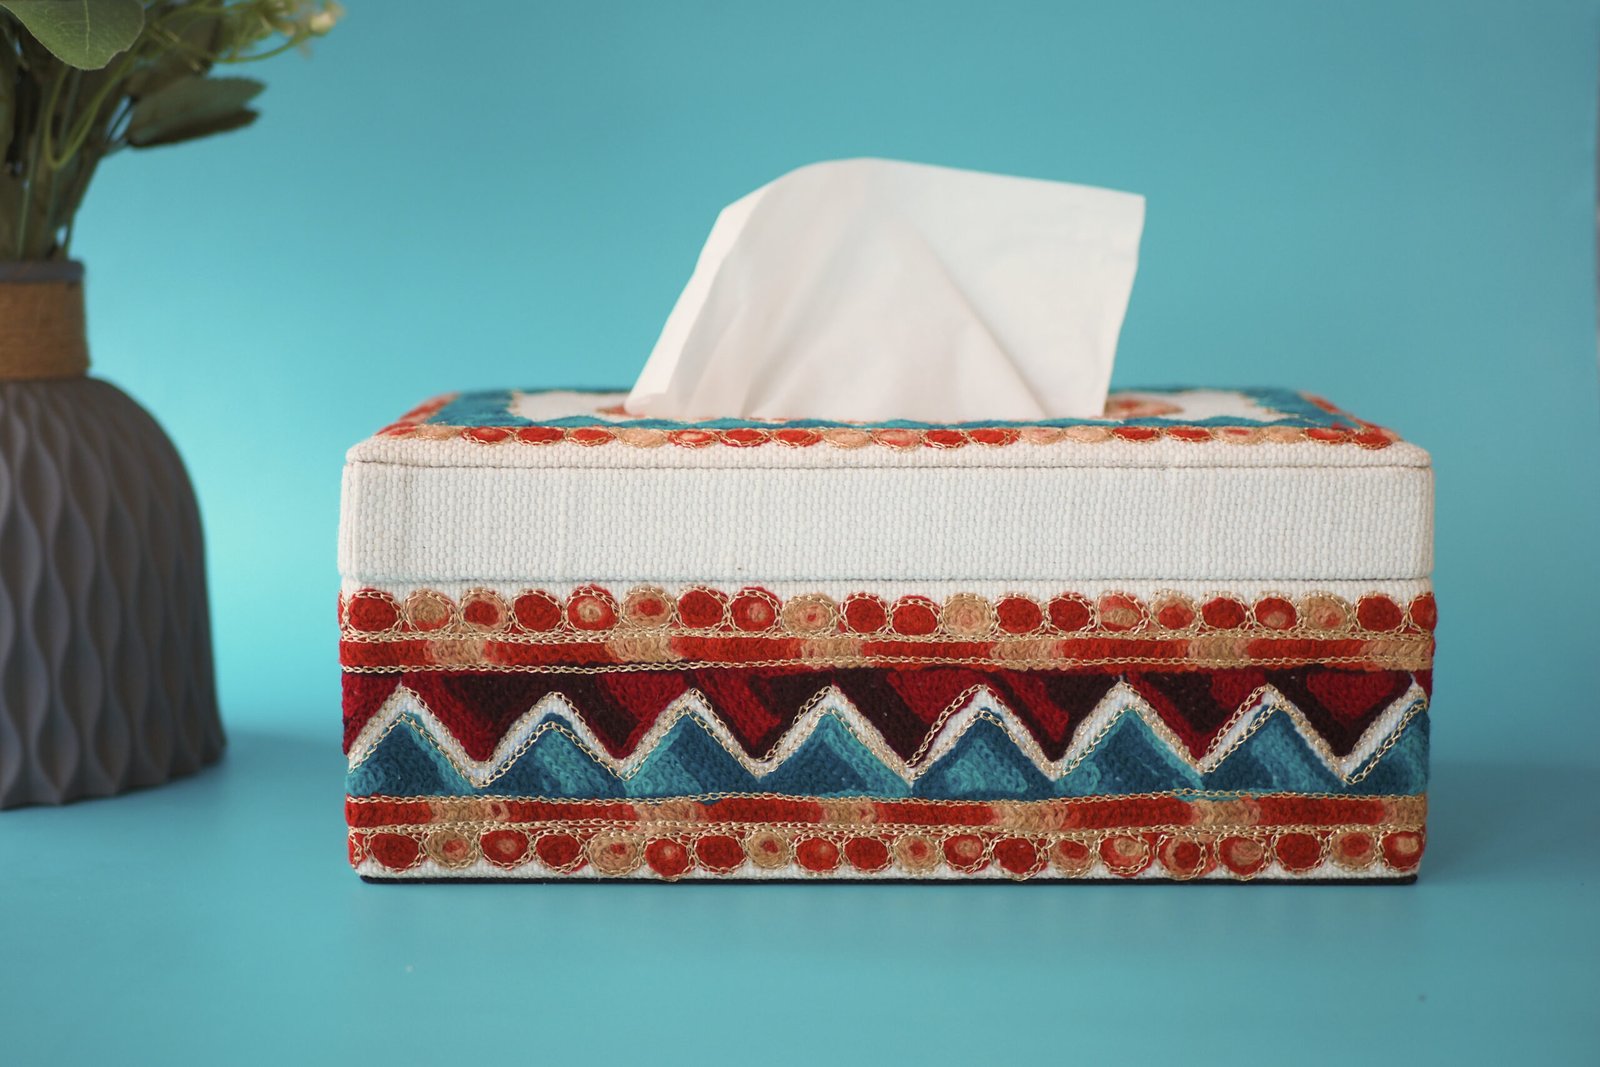
Transforming everyday household items into charming decorative accents is a creative pursuit that brings new life to forgotten materials. One delightful and eco-friendly project is upholstering tissue boxes with leftover fabric scraps. This simple craft not only reduces waste but also lets you infuse your living space with personalized style and character. Whether you’re an avid crafter with bins of fabric remnants or someone seeking a quick and satisfying DIY project, learning how to upholster tissue boxes can become a rewarding addition to your creative repertoire.
Fabric-covered tissue boxes serve as unique focal points in bathrooms, bedrooms, or living rooms, seamlessly blending functionality with flair. Instead of settling for generic cardboard designs or uninspired plastic covers, you can design a cover that complements your décor—be it whimsical, elegant, or boldly patterned. Upholstering with fabric scraps allows you to experiment with color combinations, textures, and even embellishments such as ribbons or buttons, ensuring each piece is truly one-of-a-kind.
Embracing this sustainable project also encourages mindful consumption. By repurposing fabric scraps, you help minimize textile waste and make full use of materials that might otherwise be discarded. This craft is suitable for all skill levels, requiring only basic tools and a dash of imagination. In the following sections, you will discover how simple it is to start this project and see just how quickly those leftover fabric pieces can be transformed into stylish, functional décor.
Before embarking on your journey to upholster tissue boxes with leftover fabric, it’s crucial to gather all the necessary materials and tools. Thoughtful preparation ensures a smoother crafting experience, allowing your creativity to shine without interruption. Whether you’re a seasoned DIY enthusiast or just discovering the joys of upcycling, having the right supplies at hand is the foundation of a polished final product.
With these materials and tools assembled, you’re perfectly equipped to transform an ordinary tissue box into a delightful accent for any room. Next, let’s explore how to prepare both your fabric and the box for a flawless finish.
Transforming an ordinary tissue box into a stylish accent starts with precise measurement and thoughtful cutting of your leftover fabric. This foundational step ensures a polished, custom-fit finish that elevates any room’s decor.
Before you begin, assemble a ruler or measuring tape, fabric scissors, a pencil or fabric chalk, and your chosen fabric scraps. Lay your tissue box on a clean, flat surface to avoid any slips during measurement or cutting.
Lay the fabric wrong-side up and use your pencil or chalk to mark the measured dimensions. Sketch the main panel first, then additional pieces for the sides if needed. Mark the slot for the tissue opening clearly. With sharp fabric scissors, cut along the outlines smoothly, ensuring clean edges for easier assembly later.
By dedicating care to measuring and cutting, you set the stage for a seamless upholstery process. With your fabric pieces ready, you can confidently move to the next phase: assembling and attaching the fabric to the tissue box.
Transforming an ordinary tissue box into a charming accent piece begins with ensuring the fabric is attached securely and neatly. The success of your DIY project depends on selecting the right methods and materials, as well as following careful steps for a professional finish. Whether you’re using cotton scraps, linen, or patterned upholstery remnants, the choice of adhesive and application technique will make all the difference in durability and appearance.
Start by selecting an adhesive that pairs well with both your chosen fabric and the cardboard surface of the tissue box. Fabric glue is a popular choice for its strong hold and flexibility, allowing the fabric to move slightly without peeling. Alternatively, a hot glue gun offers quick drying times and is ideal for heavier fabrics. For a seamless look, double-sided fusible web or spray adhesive can be used, spreading the grip evenly without visible lumps or streaks.
Proper technique ensures that your upholstered tissue box remains both beautiful and functional, resisting everyday handling without fraying or coming loose. Once secured, your fabric-covered creation will serve as a unique décor piece, seamlessly blending with the style of any room.
Turning an ordinary tissue box into a charming décor accent is all about creative flourishes and thoughtful details. With leftover fabric as your canvas, the possibilities for customization are virtually endless. Begin by considering the overall theme of your space—do you gravitate toward playful patterns, minimalist lines, or vintage-inspired motifs? Let your fabric choice reflect your personal style, setting the foundation for a distinctive, one-of-a-kind piece.
Once the fabric is secured around your tissue box, elevate its appearance with imaginative embellishments:
For a polished finish, carefully tuck and glue down any raw edges. A light spritz of fabric protector can help keep your creation looking fresh. With each finishing touch, your tissue box transforms from an overlooked necessity into a personalized accent that reflects your creativity. Now, it’s ready to brighten up any surface, from bedside tables to office desks.
Home Neighborhood Groups Community Service Events About Us Contact Us Tips & Tricks Join the…
Home Neighborhood Groups Community Service Events About Us Contact Us Tips & Tricks Join the…
Home Neighborhood Groups Community Service Events About Us Contact Us Tips & Tricks Join the…
Home Neighborhood Groups Community Service Events About Us Contact Us Tips & Tricks Join the…